How to Make Cute Reunion Shirts In A Matching Color Scheme


Decorating for the Holidays
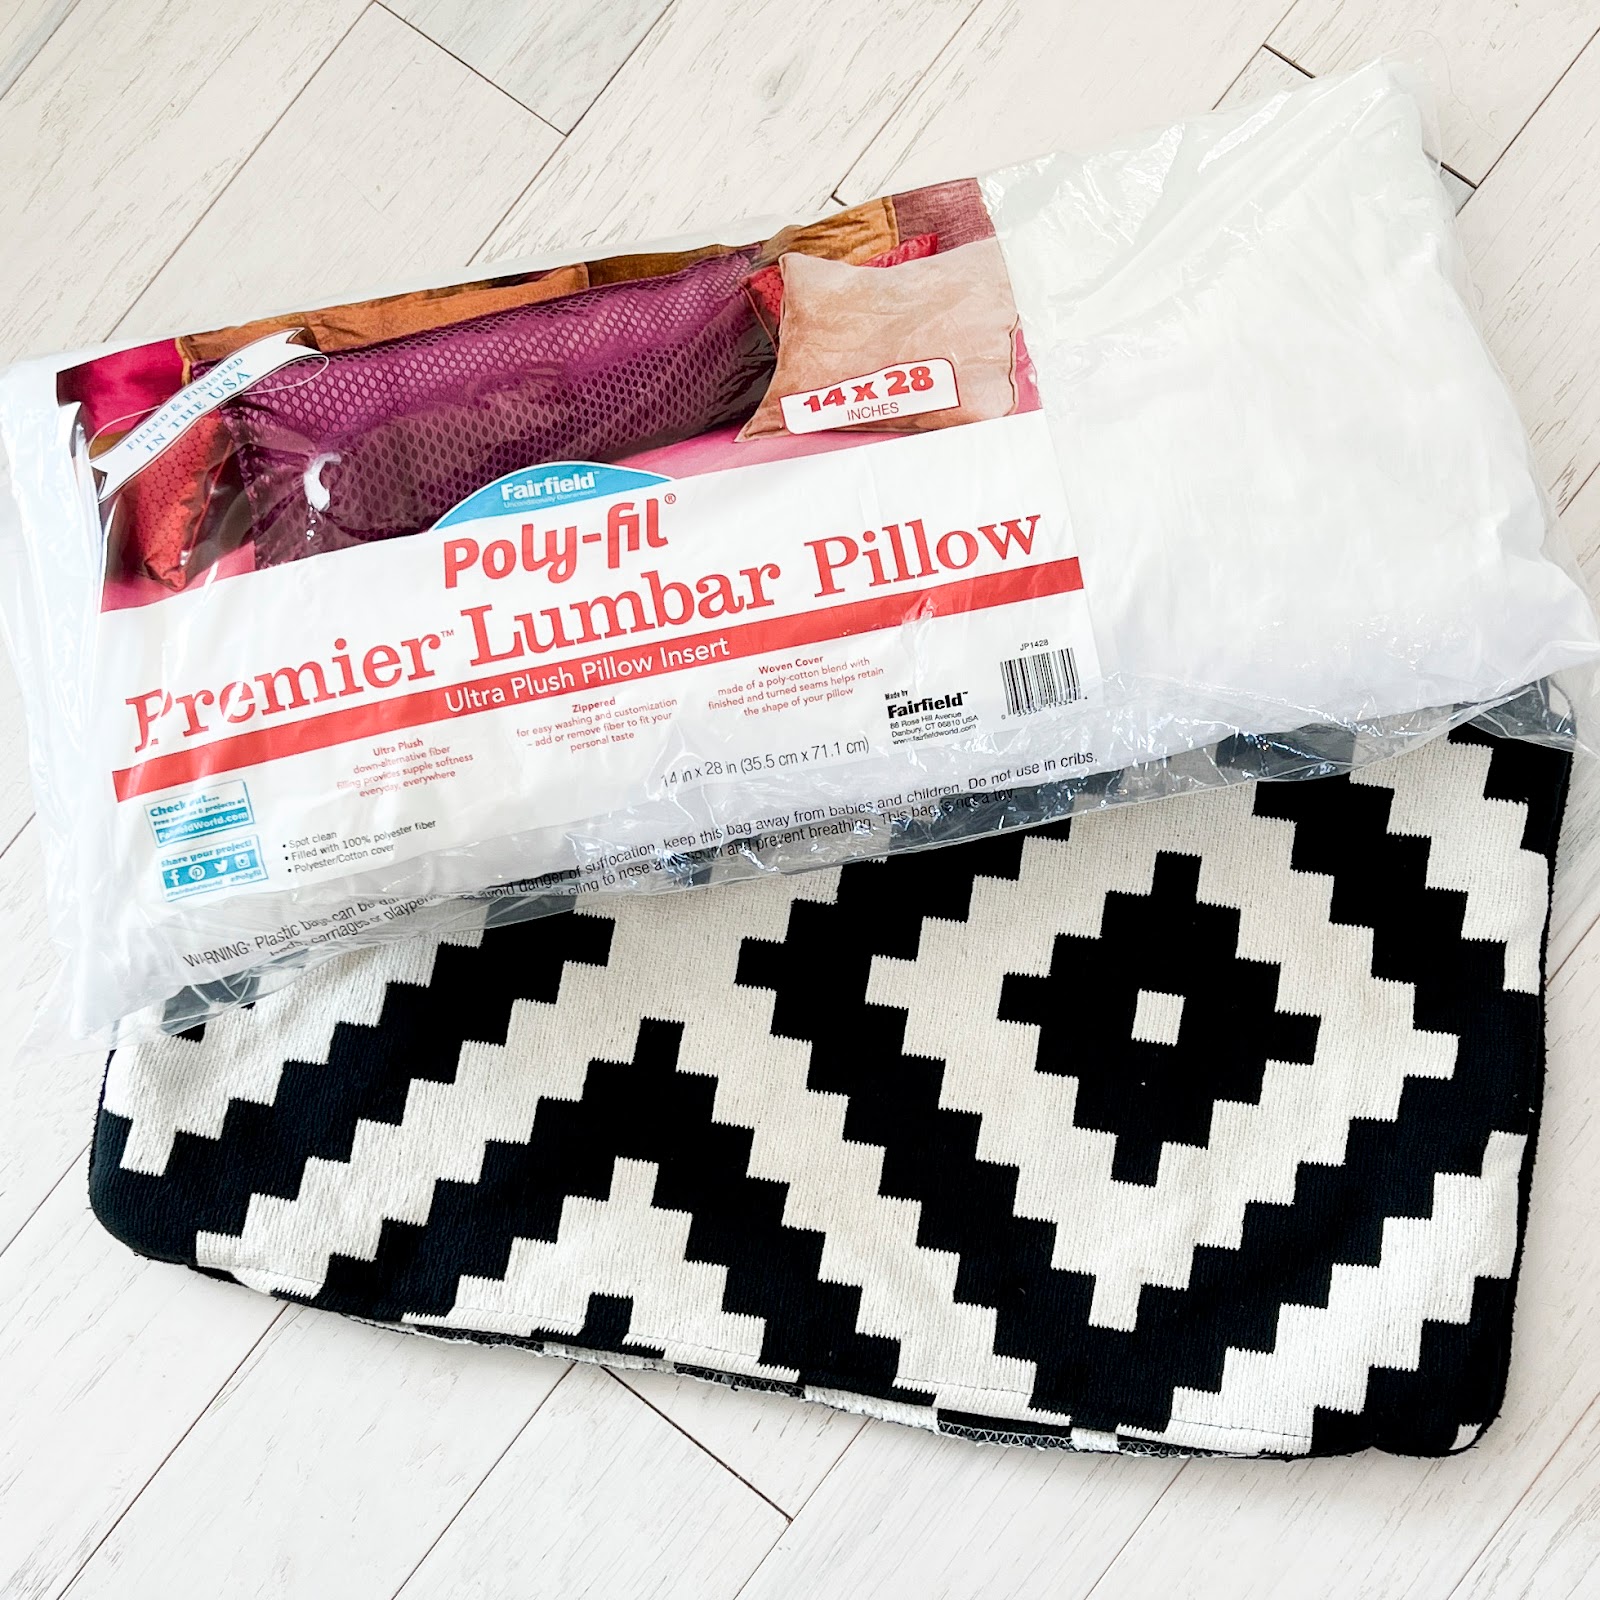
For the pillow I used a sham from Ikea that I found that perfectly matched my rug perfectly and a Poly-fil Premier Lumbar Pillow.


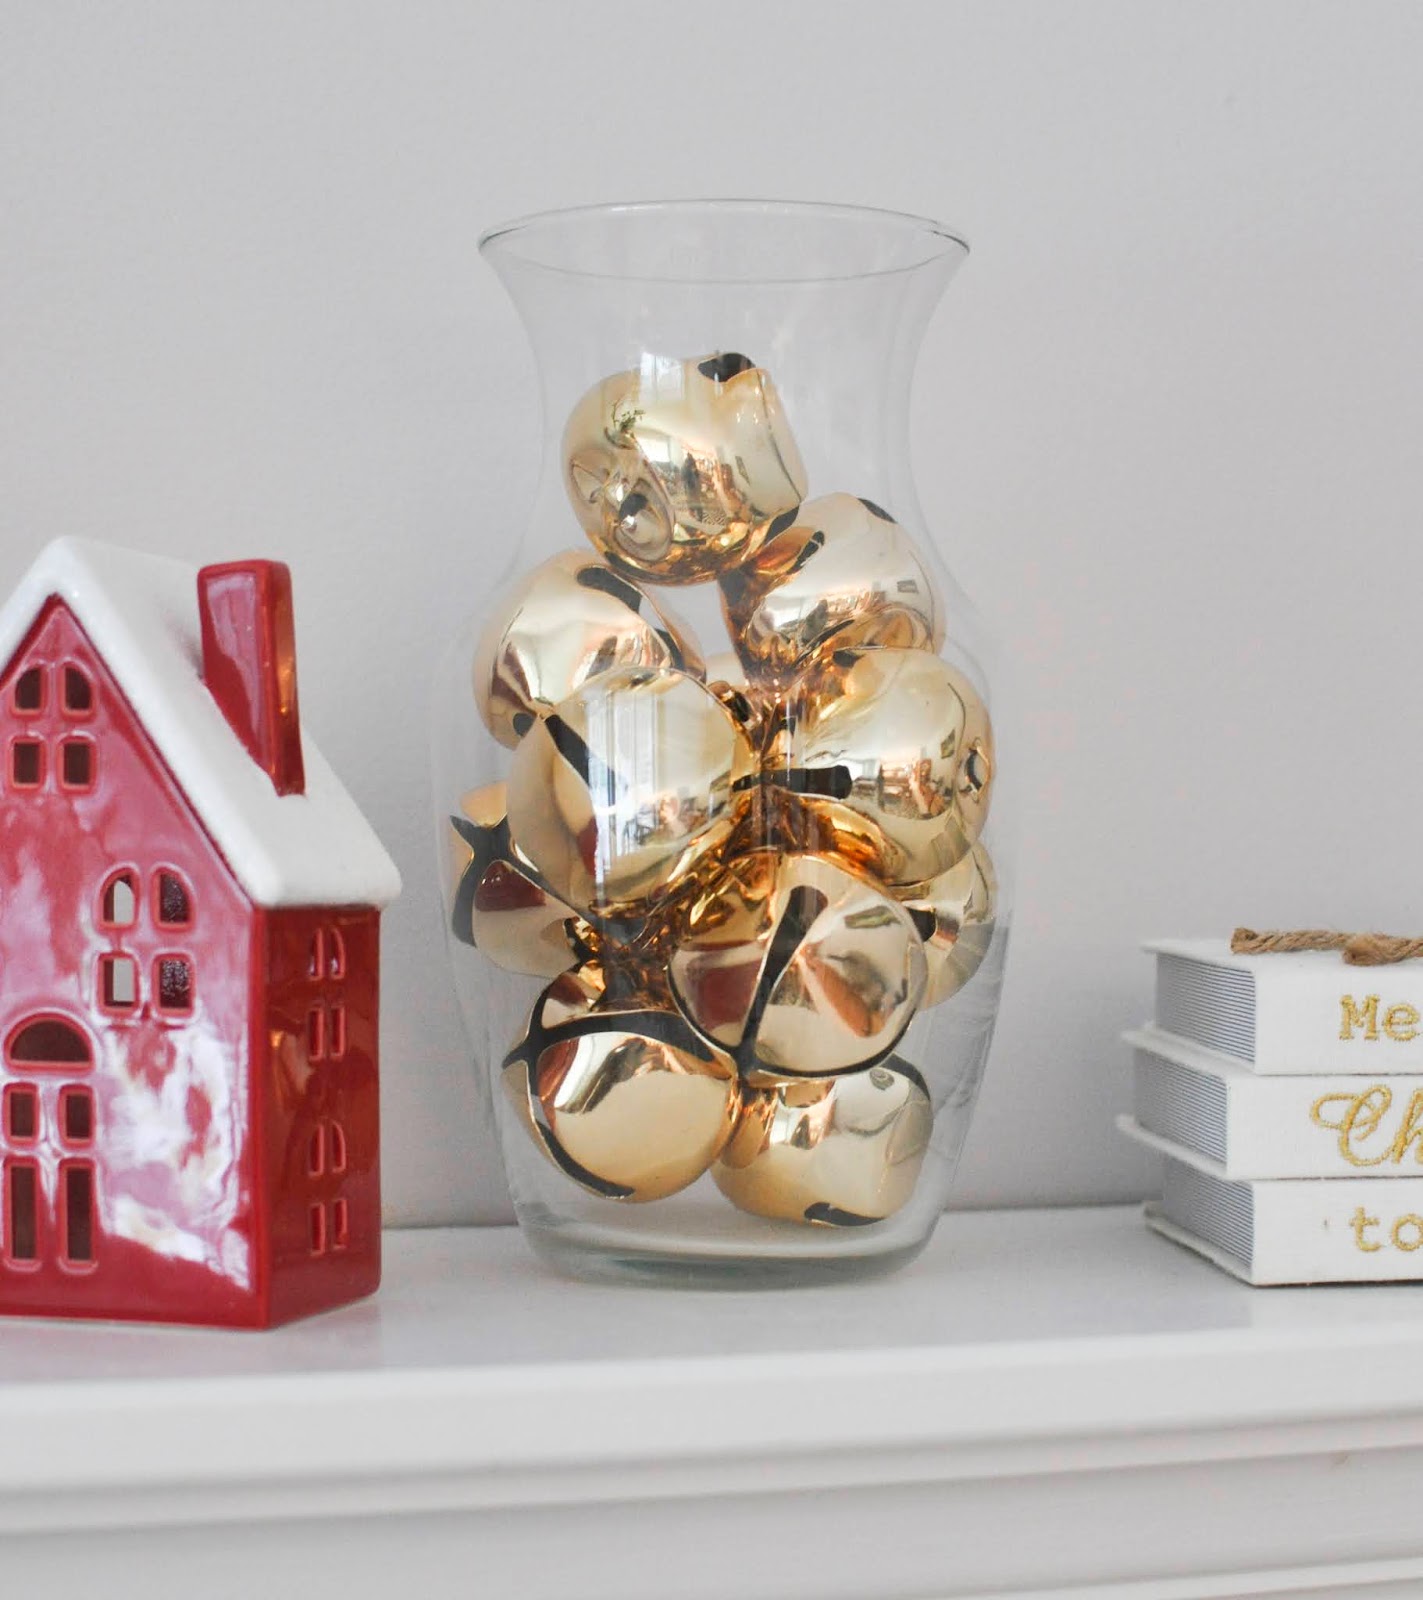
I got this great piece from Target to decorate my mantle.

I used this existing tin and I had an filled it with pine cones I got from Target.


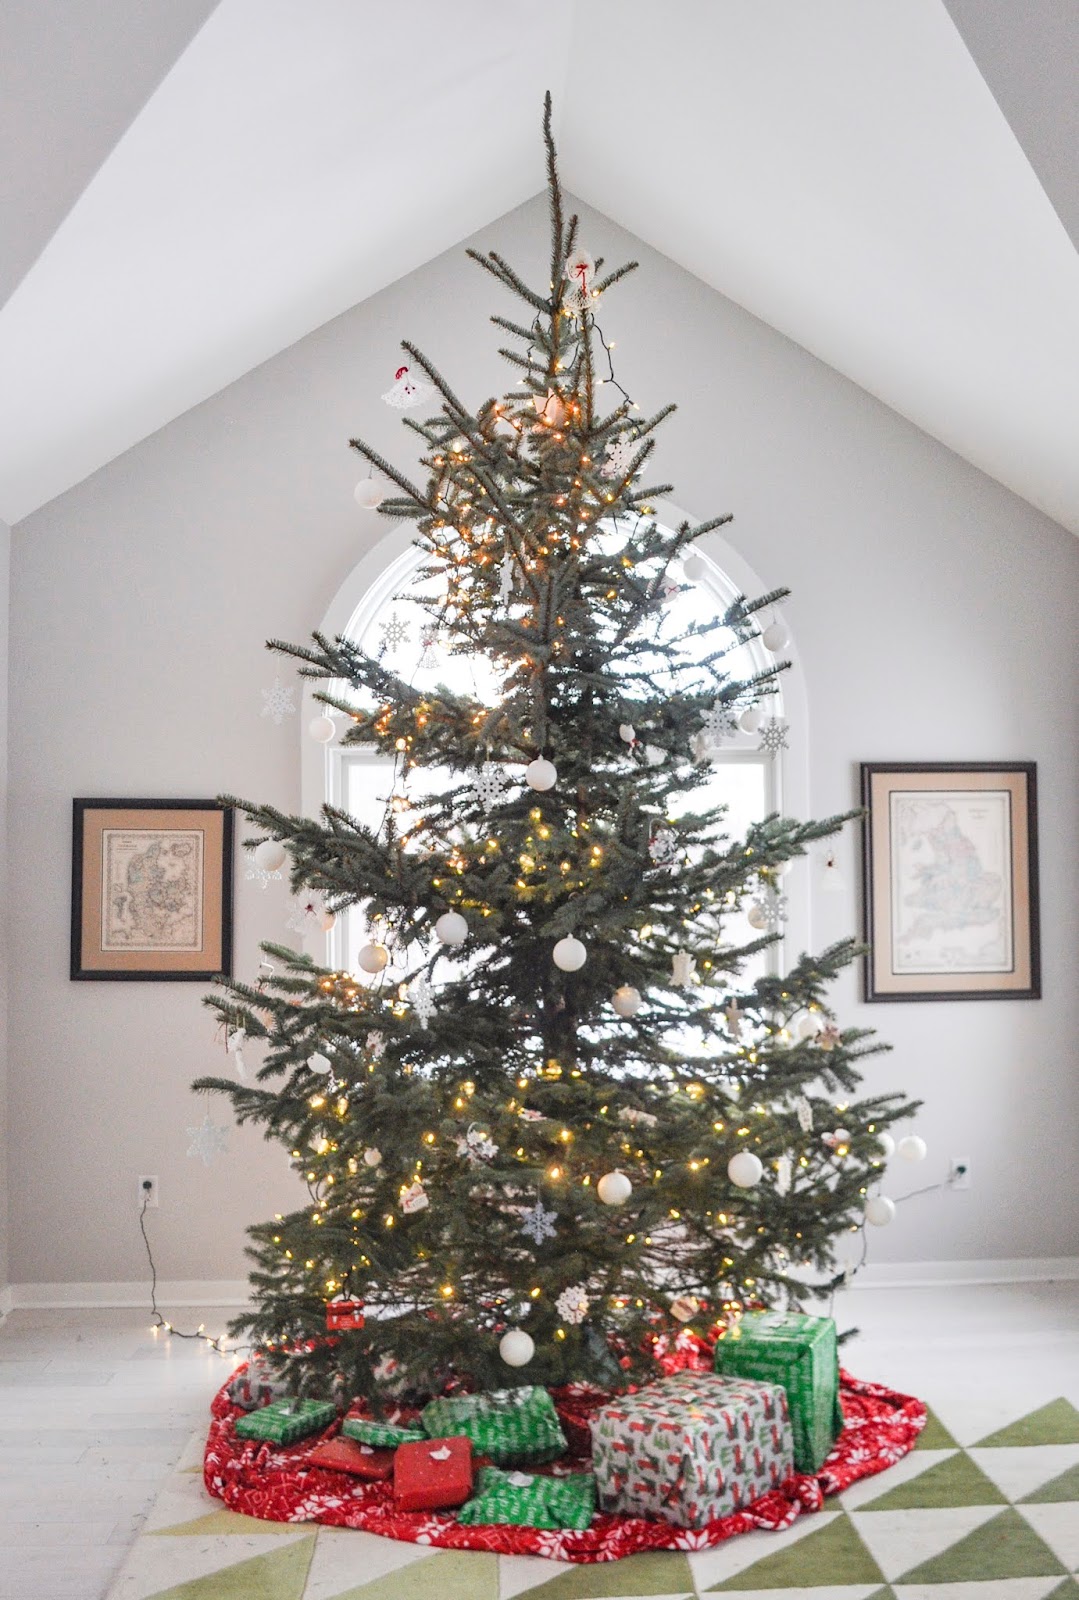
For our living room we have been cutting down real trees from our property. I decided to decorate this tree in white. The crocheted ornaments are made by my Grandmother who is no longer alive, the balls I got from Walmart and the snowflakes from Target. It is impossible to find a skirt big enough for this 12 foot tree so I used 4 blankets from Target to make a skirt. We need a skirt because the floor gets covered with pine needles.
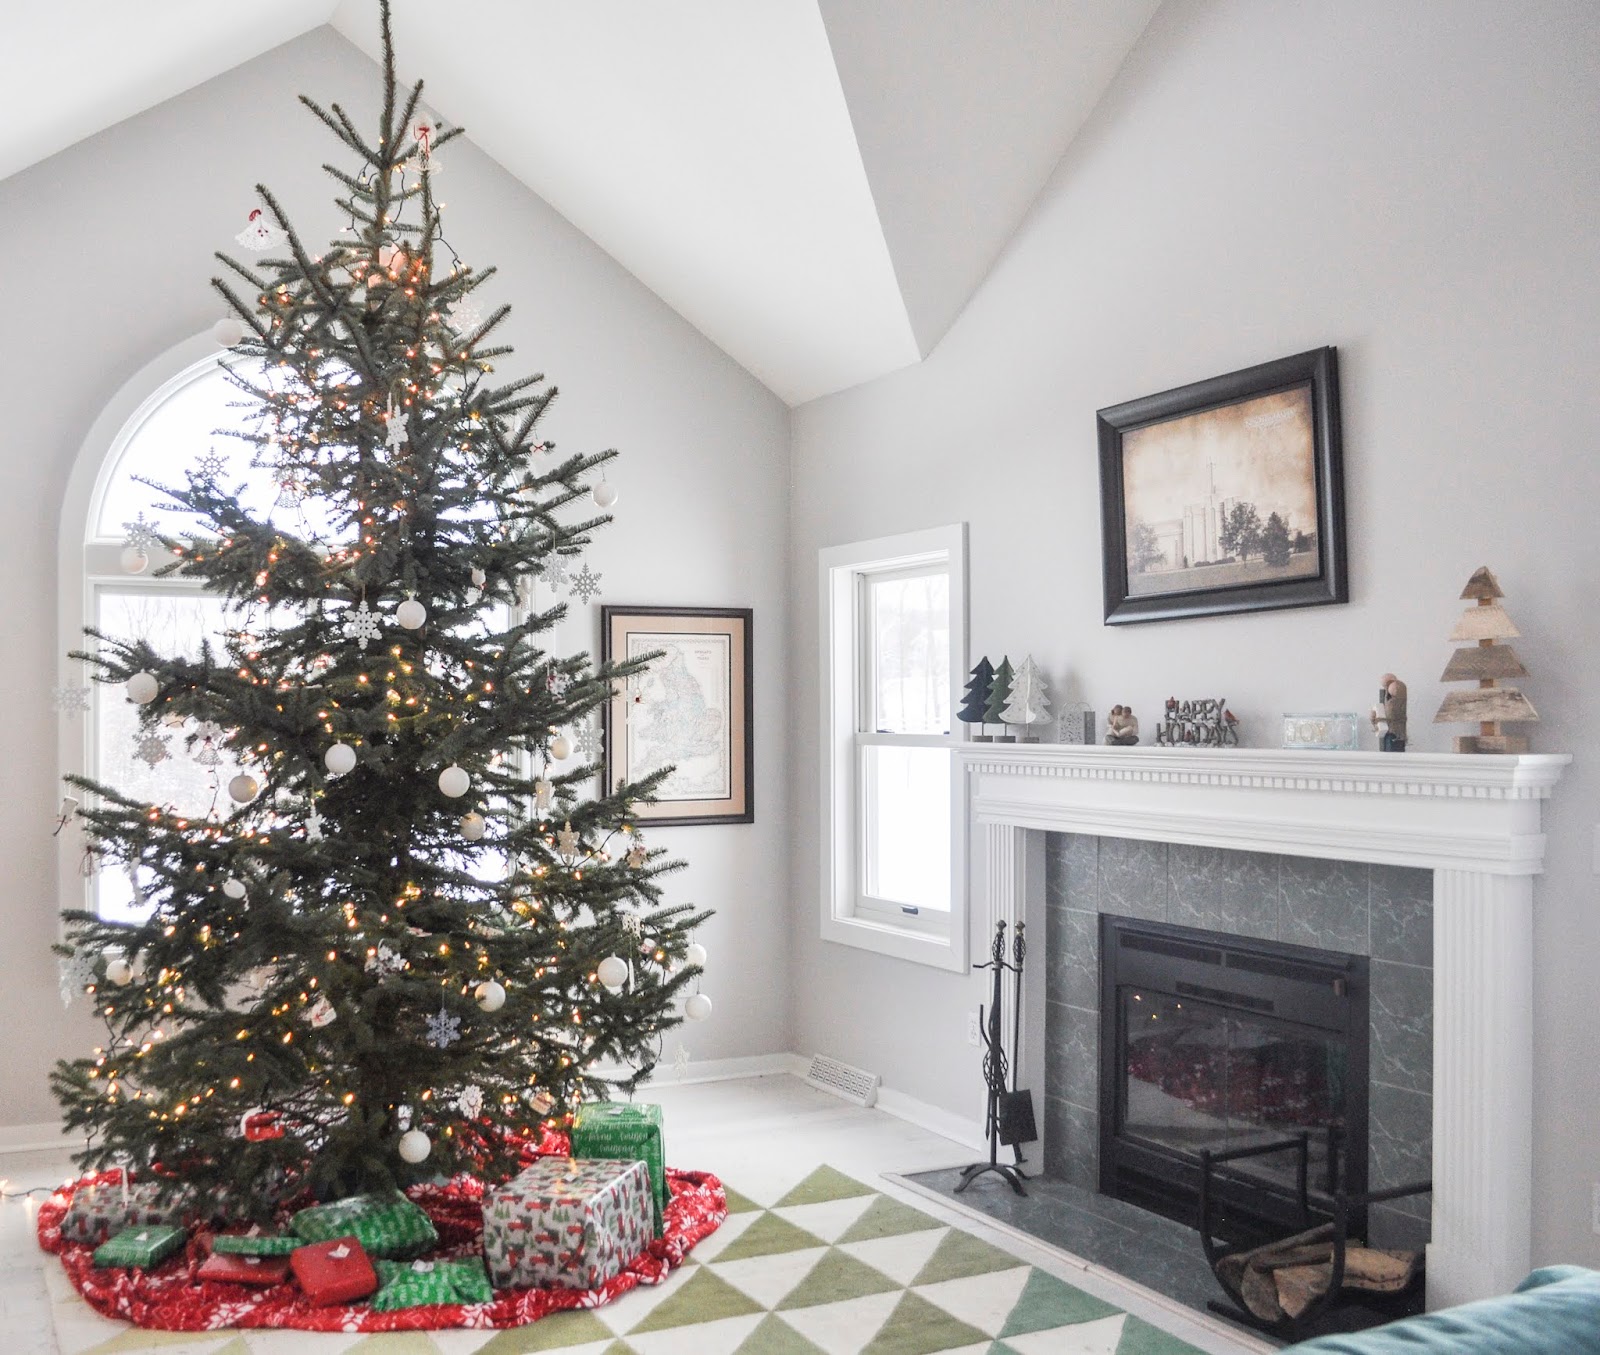
This tree was given to us by our church last year. I love its rustic look.


Make Something New by Thinking Outside the Box
Have you ever made something you did not like and your family adores? That happened to me in high school. I made the square container below in ceramics class in high school. When I brought it home I did not like it at all and gave it to my Grandma and Grandpa because they loved it. 
My Grandpa died when I was in college and my Grandma died last year. I knew I had to take it when they died because it was something I had made for them that they cherished, much like they cherished me.
Here is a closeup of another side. It was an Ombre heart and star pattern ceramic piece.
They even found felt to put on the bottom they cared for it so much. There was NO WAY I could throw it away, but I tried keeping it on my counter with tissues and I really did not like it. I am a big proponent of Marie Kondo and she says to keep things that bring you joy. This brings me joy, but not with tissues in it. I decided I would put a plant in it instead. I was thinking I could get foam and stick the plants in. Or I could buy a prepotted plant from Target, take that out, get the foam and put that in the "tissue holder".

I have joined with some other bloggers this week to showcase some more ways to recycle old crafts.

How to Save Space and Stuff Pillow Shams with Poly-fil
I love how this room has come together. Click here to see what it looked like before. We have a teal loveseat, green fireplace and green background from the windows in this room. I picked out some pillows for this room and wanted to make sure they did not clash. The last thing we have to do is paint the stair rail. We have a ton of greens in this room. I thought these tan pillow case covers from Bed Bath and Beyond were perfect! I also used these on my patio for some pillows that were green. I stuffed them with Poly-fil and am going to show how easy it is today.  Fairfield World, the makers of Poly-fil is turning 80 years old this year! (#fairfield80, #polyfil, #poly-fil, #FFWcelebration) I received the Poly-fil and these goodies for this project.
 To make these pillows I got some pillow shams from Bed Bath and Beyond. I have one bag of 32 ounces of Poly-fil. I opened the bag and filled the pillows to my desired "stuffiness". That is the great thing about filling pillows, they can be as hard or soft as desired. We like medium stuffiness here.
 Here is the finished product. I love how they turned out. They fit in really well with the decor in the room and are super comfortable to sit and take a nap with!
  The perfect thing about this project is if we decide to change the pillows they can be changed out with other shams and folded, not taking up a lot of space!

How to Make a Pillow with a Pillow Using Poly-fil and Insulate a Bag


Our Family Story Wall Hanging

- white cardstock
- black cardstock


MUCH BETTER!


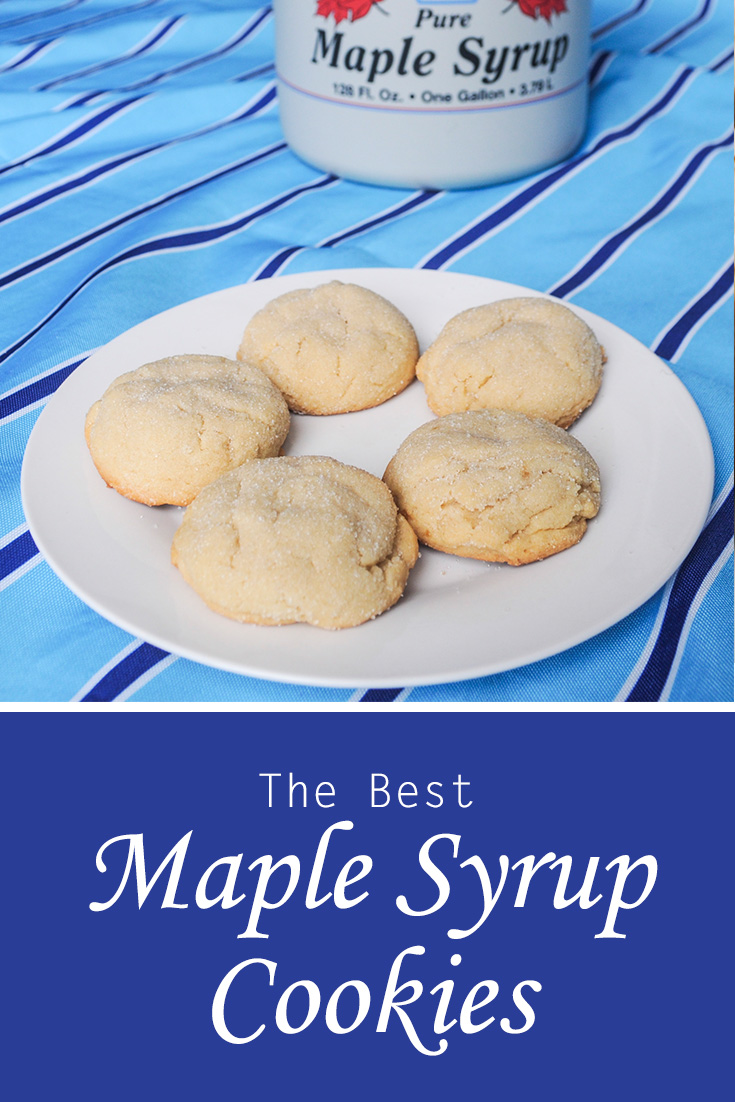
The Perfect Maple Cookies

- 1 cup softened butter
- 1 1/2 cup brown sugar
- 1 egg (room temperature)
- 1/3 cup Maple Syrup
- 1 teaspoon vanilla
- 3 cups flour
- 2 teaspoons cornstarch
- 1/2 teaspoon salt
- 1/2 teaspoon baking soda
- 1 teaspoon baking powder
- granulated sugar
- Cream the butter and the sugar.
- Cream the egg with the butter mixture until fluffy.
- Add the maple syrup and the maple syrup to the mixture.
- Mix the dry ingredients, flour, cornstarch, slat, baking soda, and baking powder.
- Add the dry ingredients to the egg mixture.
- Combine the dry ingredients, flour, salt, baking soda, and cream of tarter.
- Chill in fridge for 30-60 minutes before baking.
- Form round balls and roll in granulated sugar.
- Bake at 375 degrees Fahrenheit for 10-12 minutes.
- Let cool and enjoy!


